
We are not all born as skilled craftsmen. It’s easy for us to understand. However, you have probably wondered, countless times, what you can and cannot fix in your own home! There are some repairs that you need to do regularly in your home throughout the year. If you do not want to spend some large amounts of money on professionals – you will need to have adequate skills that can be easily mastered – but also an adequate tool that goes with such repairs. What are the regular annual home repairs that we will also need to maintain in 2024 – read below.
Master DIY Skills
A home is always like a bottomless hole. There is always something to do. Various alterations, repairs, and even adaptations take us a lot of money. And what if you did some of that work yourself? When arranging an apartment or home, many jobs can be done on your own instead of paying professionals – saving you a considerable amount of money.
Tiling walls, installing laminates, or making and installing simpler closets are some examples of home craftsmanship that will cost you significantly less – if you don’t hire professionals. Master the skills so you can do some of the housework that is inevitably waiting for you throughout the year.
1. A Leaking Faucet
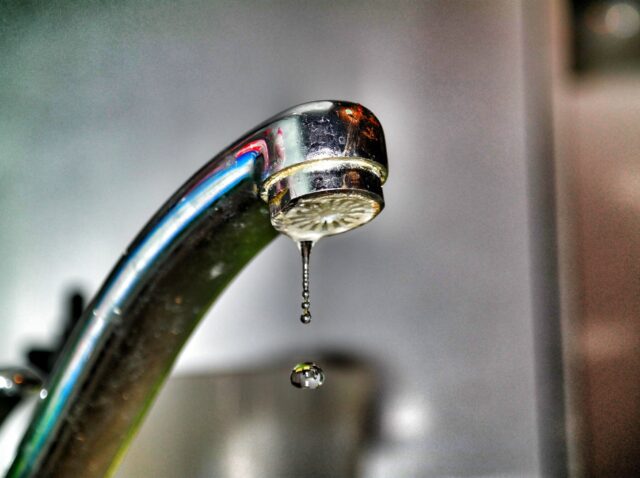
Water dripping from the faucet is something that can probably even annoy even the most calm people. However, many of them suffer and listen to the annoying drip for days – as they think about whether it can be repaired and how much it costs to call a plumber. There is no reason to think so much – the problem can be solved within minutes. First, the flow of water from the water supply system to the faucet must be prevented.
You will achieve that by turning the valve. After that, remove the faucet mask by pulling it towards you. Use a tong or key to unscrew the old vent inside the faucet. Insert the new one and screw in the hole, tighten it by hand. You will also need a pliers and a wrench for this job. Tighten the faucet vent with a clamp or wrench – but carefully as it can be easily damaged. In most cases, it will be enough to rotate the pliers after another hand tightening by another quarter or half circle. Install the decorative cover and installation is complete.
2. Fastening And Drilling Wood
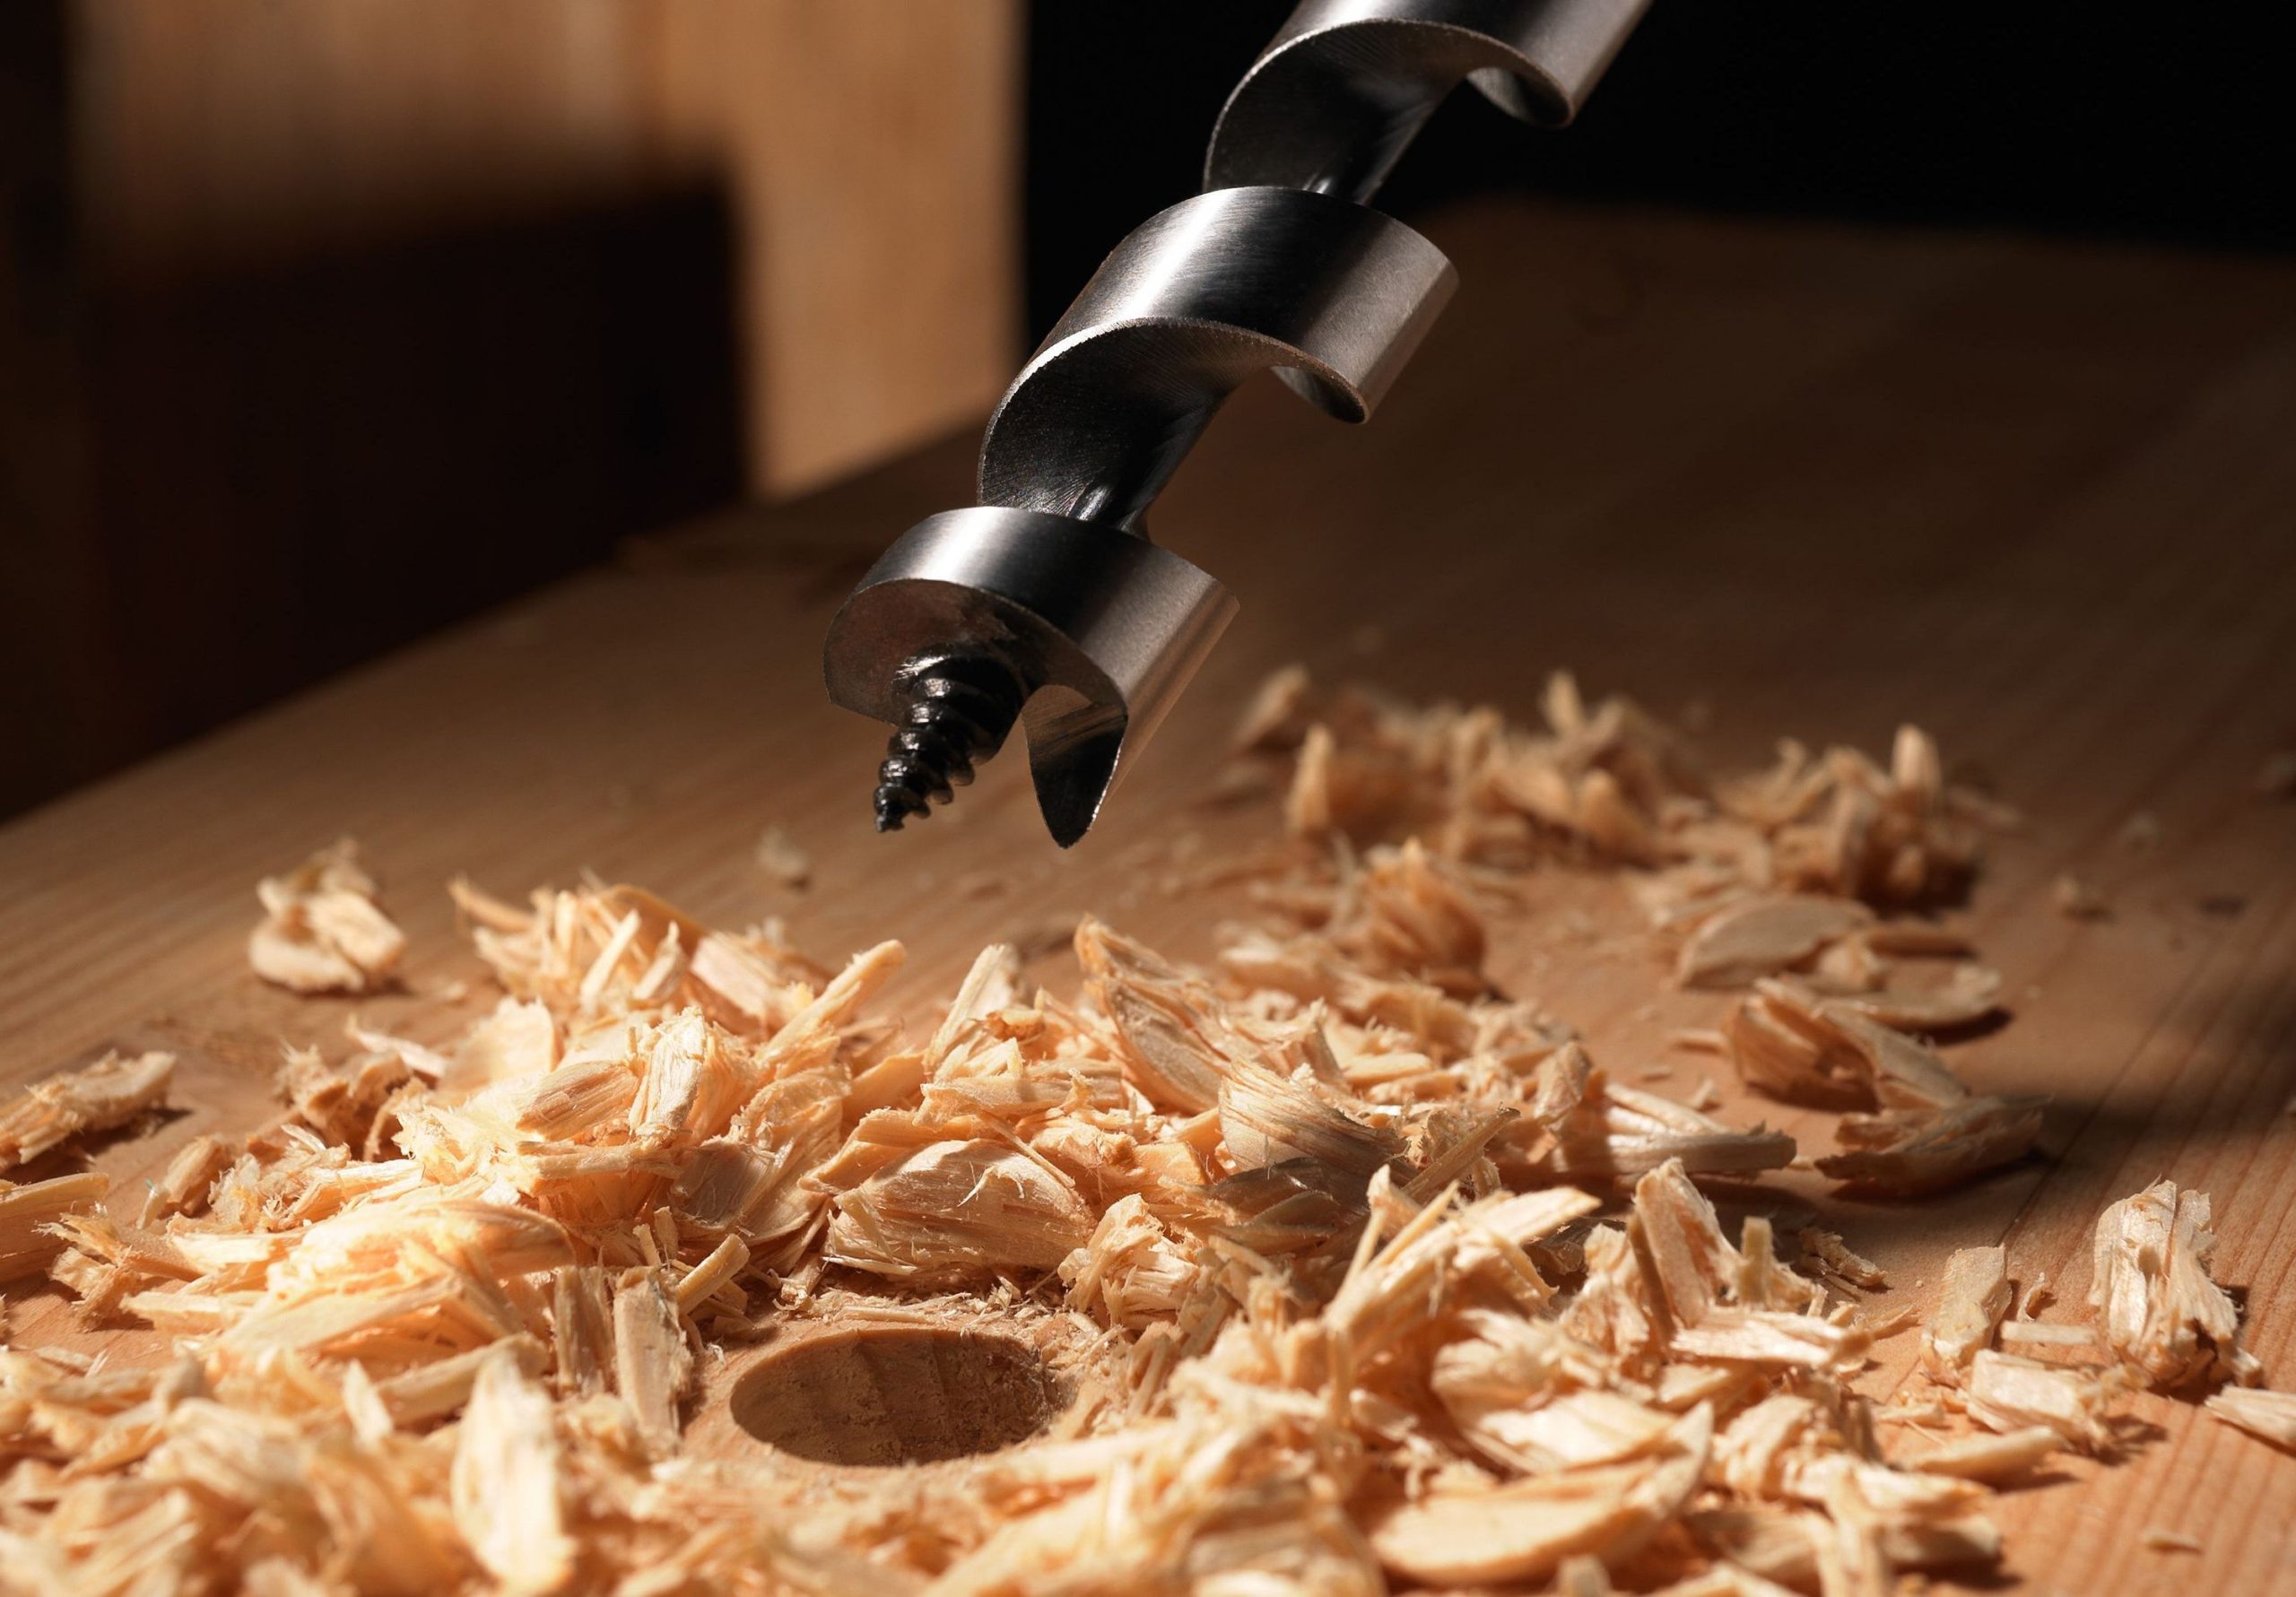
Screw joints when building furniture are a speedy and simple option in contrast to holding. In any case, penetrating wood is more requesting than it may appear from the start. The best choice is to have a cordless impact wrench that will be of extraordinary advantage to you, – regardless of whether you screw the cupboard or hang the kitchen components.
This device is practically top-notch in speed and productivity and will make your activity simpler and progressively fun. While picking these devices, be guided by the quality, and see CordlessDrillGuide for additional info on choosing these devices. Continuously use wood screws. They have a high-rise thread and a pronounced tip. The handle is round and hollow or decreased. You get the best outcome when penetrating the wood strands. Set the right rpm. On the off chance that the speed is excessively low, the opening will be unclean. Excessive rpm may make the workpiece overheat and cause ignition stains.
3. Fix Of Small Home Appliances
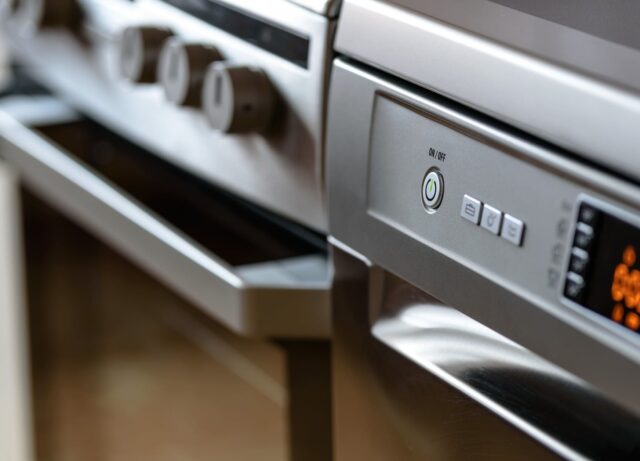
As for bigger home appliances, some of them may have been an issue. For small appliances, this isn’t the situation. This is the most developed fix we suggest – however, it isn’t the most terrible thing that can occur. The first important thing is to inspect the reason for the issue – and see what could be done. For smaller appliances, it isn’t difficult to spot the issue, because the entire gadget fits into your hands – and you can take a look at it and see what part should be fixed.
It is a critical factor to have the tolerance and dependability and quit fixing in case you see that it isn’t working. Be mindful so as not to fix the appliance while it is connected – as it might cause a circuit. However, you don’t need to be a professional to get this. In this manner, don’t hesitate to attempt this fix, obviously, cautiously, steadily – and with a ton of persistence – and you may even prevail without the assistance of a talented circuit repairman to complete an astute fix work.
4. Painting The Apartment

Painting the interior walls of your home is one of the easiest DIY jobs. While you will not need much money for an average DIY apartment painting, you will much more if you rely on professionals. For the work only, without their material, the craftsmen will charge you up to a price of about € 30or more, while the “assistant” costs around € 20-30. For self-contained work in a 50-square-foot apartment, you will need two buckets of paint, nylon and parquet and furniture protection tape, a roller, a brush, a strainer, a roller telescope, and a ladder.
5. Light Bulb Replacement

Is it conceivable you never attempted this? If not – we don’t trust you. Everybody tried this at least once in their lives. This is probably the least demanding home fix, for the most part, not completely electrical. It is a basic house-work that is anything but difficult to perform and doesn’t represent any issue. Focus on whether the light is off so you don’t get stung or astound you in case the light is on. You may drop a bulb and break the glass when it illuminates. However, it is the most effortless fix for you expected throughout everyday life.
6. How To Fill Tile Joints?
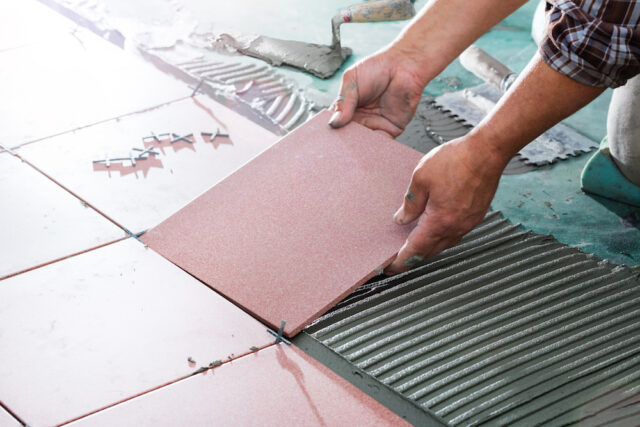
Although this is the last step in tile placement, it is also paramount to the overall look and longevity of your tiles. When dissolving the grout, allow it to stand for ten minutes. After that, the mixture should resemble mayonnaise in density. Hold the trowel at a 45-degree angle to the surface of the tiles – and apply grout in the joints between the tiles. Work quickly on surfaces no larger than 1m2 – as the grout can harden quickly depending on temperature and humidity levels.
To remove excess grout from the tiles, you will need a sponge and a large bucket of clean water. Soak a sponge and drain it. Then place the longer side of the sponge on the tile and drag it in one continuous stroke – over the grouted surface. Turn the sponge and slide the clean side over the edges. Then rinse the sponge, drain it and continue the process. Using a scalpel, remove the grout from the corners between the floor and the walls – and then fill these edges with suitable silicone.


