
Do you want to know if you need to purchase a new panel each time you change your layout? Is it possible to use the same display? Or Is it possible to re-use a screen that has been burned? Luckily, you may make use of the screen over again.
Even if you’re not recycling your screens straight away, you must cleanse them promptly after usage; otherwise, the paint will discolor them and leave oil buildup, generating a motion blur appearance on your panel, lowering the clarity of your upcoming work.
Cleansing your display using efficient cleansers or domestic chemicals, including bleach, means removing emulsified and lifting any paint, grease, or dust from the show, allowing you to keep it in top condition. Let’s find out more about it.
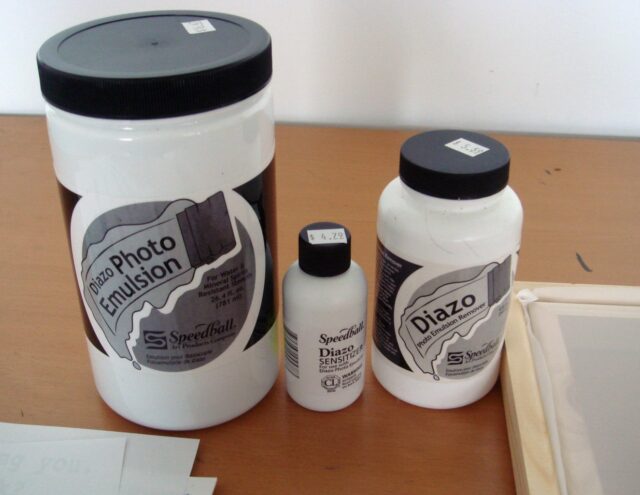
Silkscreen Cleaning Reagents
While it may appear that cleansing your silkscreen could damage the netting, it is a crucial aspect of screen maintenance. Washing your display settings will prevent accumulation and make life simpler for future jobs as it will not have accumulated ink smudges. Allowing paint to sit on the panel for an extended period causes ink smudges.
There are a variety of techniques to cleanse your screens and a variety of items designed specifically for this purpose. Because the solvents used during silkscreen cleansing are extremely powerful and lethal, you’ll need to use safety clothing, including gloves, safety glasses, and masks, to keep yourself secure.
Degreasers or dehazers are now the synthetic chemicals used during silkscreening cleanup. These can be found in crafting retail locations. They’re designed to smoothly and rapidly remove the film from your panel, which is the most crucial element of cleansing it so you can obtain a better vision the very next moment. If you’re on a bargain, you may expurgate a stencil with chlorine and surfactants, both typical home items.
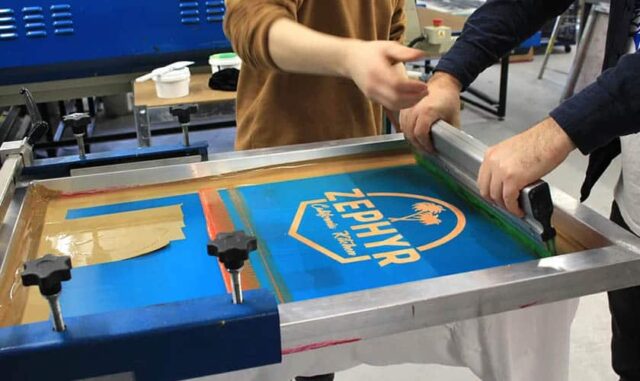
Reusable Silk Screens: How To Create And Imprint With Them
This Tutorial will teach you how to manufacture recyclable silken panels for imprinting on textile or sheets. You can save money and energy by making silken panels to create a large picture.
Unlike many other silk screens Instructables we’ve come across, this process avoids the need for nasty photographic exposure adhesive. Furthermore, as we’re attempting to use a damaged screen, if the scorched section is on the border, try and cut it out; else, continue with the same technique.
Stage 1: Collect Your Equipment
The very first section will contain all of the necessary equipment and machinery. Almost all of the items you’ll require are likely to be found in your home. Here are the materials you’ll have to assemble for creating the panels:
You’ll need many more frames as the number of displays you’re going to make. On pre-made timber, we utilized painter’s canvases. You can either repurpose old panels or create new ones. The general goal is to create a solid, 1-inch or thicker timber frame that is perfectly smooth on at most one side. It has to be soft to achieve the greatest possible barrier to your venture.
A well-knifed multipurpose razor. A glue gun with moderate to regular duty. Textile shears that are razor sharp. Hammer with a small head. The broader the black painter ribbon, the finer. Collect all of these goods and keep them accessible. A fabric with a tiny grid. We consider that a nylon weave will suffice. Any finer, durable mesh would work.
Don’t panic if you do not know where or how to look for these items and use your pre-burned silkscreen. We’ve got you taken care of. Find here the greatest silk screening supplies available, and let’s get down to business.
Stage 2: Get the Timber Structure Ready
Take your small knife as well as a linen framework to begin constructing the panels. Replace the crystal and whatever is in this if you have a picture frame or something like that. Cut along the borders of the cloth with the knife blade to free this from the framework.
Remove any leftover fragments and any screws that have worked their way free. If the nails are still undamaged, tap these firmly with the mallet to guarantee they don’t clog later. When you’re done, you will have something like the image.
Stage 3: Expand Your Panel
The next step is to remove a sheet of screening fabric extending over the framework. To give yourself enough space to maneuver, make sure this is several inches wider than the framework. This is much more aggravating than the mid-way through a project, only to discover the display is too tiny.
Stage 4: Add More Fasteners
Keep stapling along the outside of the framework. Ensure you’re attaching the material as tightly as possible. Continue to add staples between those you’ve already done. It would help if you had a pin approximately per inch even by the time you’ve got it, and the panel must be very snug and smooth from across the flat side of the screen.
When all bolts are in place, and you’re pleased with the display’s stiffness, gently press all of the staples flat with the mallet.
Stage 5: Remove any excess material
Then, gently trim the extra screening fabric from the framework using your small knife. Snip from the staples by a few millimeters and move slowly! It’ll be exceptionally hard, if not unattainable, to get that portion of screening snug again and if you rip the cloth off from a nail.
Stage 6: Stick it together and decorate it
Wrap the borders with artist’s film or masking tape if you want anything more durable. While you operate, this keeps the screening from tearing or dragging on the staple.
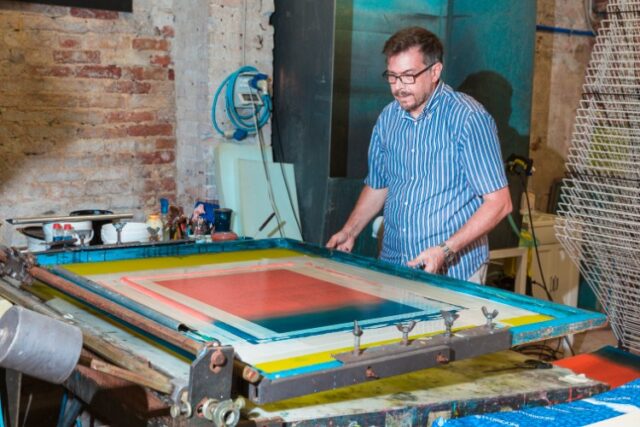
Stage 7: Make the call about what you’ll create
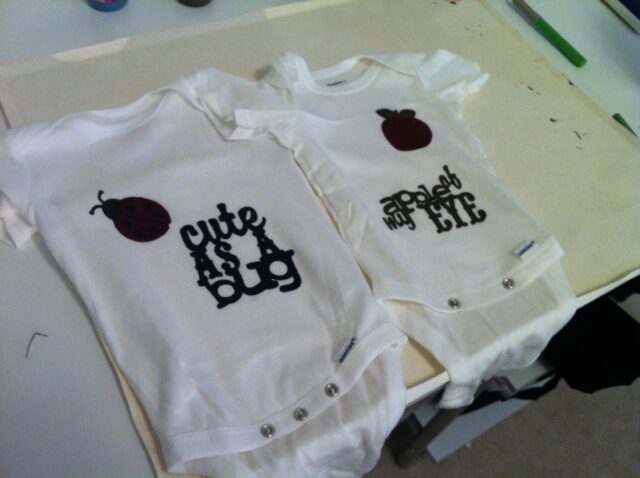
You’re now prepared to print. Think about putting a wooden board within textile clothing to prevent paints and oil bleeding out.
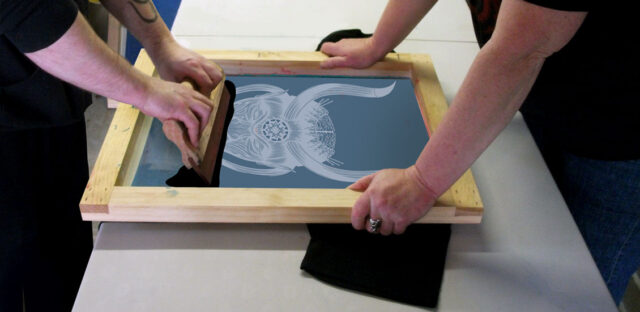
Stage 8: Make Sure Your Panel Is Spotless
Disconnect all tapes and the pattern from your screens immediately as soon as you’ve completed your final item with that too. Before the paint hardens, rinse it completely and carefully with hot water.
If you don’t let the paint harden on display, you must be ready to use several more occasions. Of all, there’ll be some darkening, but the screening holes still should be accessible enough to absorb the color.
Conclusion
We hope you’re well prepared for your next endeavor. Make sure to follow these instructions—best of luck.


